If you live in a cold climate, you may have experienced frozen pipes or other plumbing issues during the winter months. One way to prevent this from happening is to insulate the pipes under your kitchen sink. In this article, we’ll take a closer look at how to insulate under your kitchen sink to keep your pipes from freezing.
How to Insulate Under The Kitchen Sink
Step 1: Measure the Space
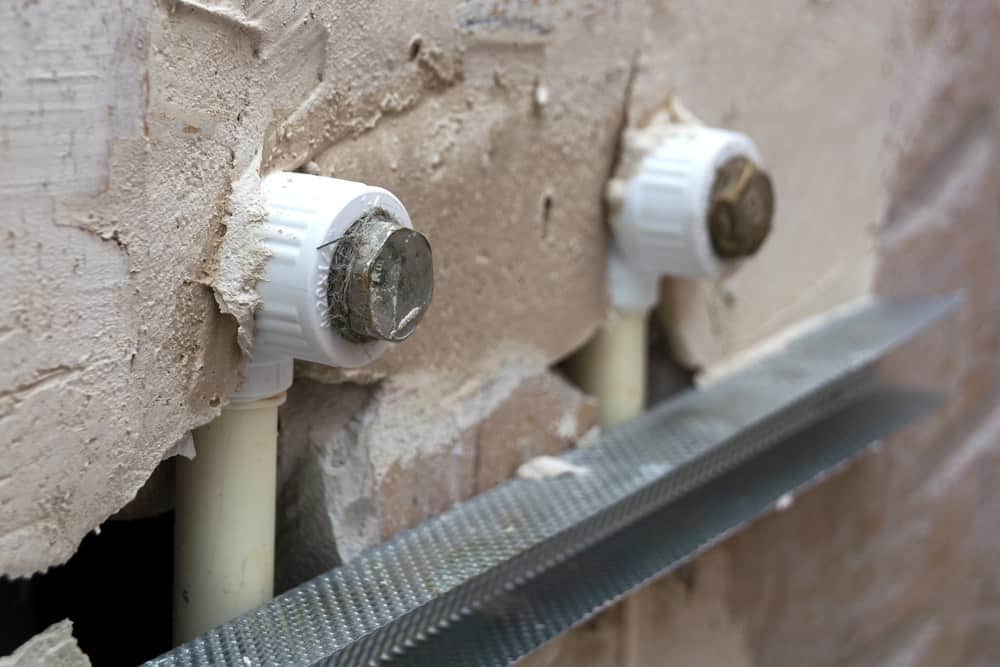
The first step is to measure the space under your kitchen sink to determine how much insulation you’ll need. You’ll want to measure the length and width of the space, as well as the distance between the pipes and any other obstacles.
Step 2: Choose the Insulation
Next, choose the type of insulation you want to use. You can use foam insulation, fiberglass insulation, or pipe sleeves. Foam insulation is the easiest to install, while fiberglass insulation provides the best insulation.
Step 3: Cut the Insulation
Once you’ve chosen your insulation, use a utility knife to cut it to size. Be sure to measure carefully and make sure the insulation fits snugly around the pipes.
Step 4: Install the Insulation
Finally, install the insulation around the pipes under your kitchen sink. If you’re using foam insulation, simply cut it to size and wrap it around the pipes. If you’re using fiberglass insulation, wrap it around the pipes and secure it with tape. Pipe sleeves can be slipped over the pipes and secured in place with tape or wire.
By following these steps, you can insulate the pipes under your kitchen sink and prevent them from freezing during the winter months.
Pro Tips For Insulating Under Your Kitchen Sink
Here are some professional contracting tips about how to insulate under your kitchen sink:
- Choose the Right Insulation Material: When insulating under your kitchen sink, it’s important to choose the right insulation material. Professional contractors recommend using closed-cell foam insulation, which is a type of foam that is more dense and less permeable than open-cell foam. Closed-cell foam insulation is also less likely to absorb moisture, making it a good choice for areas where moisture is a concern.
- Use the Correct Thickness: The thickness of your insulation will depend on the size of your pipes and the space under your sink. In general, professional contractors recommend using insulation that is at least 1 inch thick, but thicker insulation may be needed for larger pipes or larger spaces.
- Seal All Gaps and Cracks: To maximize the effectiveness of your insulation, it’s important to seal all gaps and cracks in the space under your sink. Use caulk or foam insulation to seal any gaps or cracks around pipes, and use weatherstripping to seal any gaps around doors or windows.
- Use Heat Tape as an Additional Measure: In addition to insulation, professional contractors also recommend using heat tape as an additional measure to prevent pipes from freezing. Heat tape is an electrical tape that is designed to provide a low level of heat to pipes, which can prevent them from freezing.
- Hire a Professional Contractor: If you’re not comfortable insulating under your kitchen sink yourself, or if you have any doubts about your ability to do so safely and effectively, it’s always a good idea to hire a professional contractor. A professional contractor can ensure that your insulation is installed correctly and provide additional tips and advice to keep your pipes from freezing.
[youmightlike]